If you’re reading up on how to replace a hard-wired smoke detector, you’re already taking significant steps to safeguard your family against fire hazards by practicing safe electrical repair or replacement on your smoke detector.
According to the United States Fire Administration, two-thirds of all home fire fatalities occur in residences without functioning smoke detectors. We’ve all likely heard tragic stories of such preventable deaths and thought, “That could have been avoided!”
In your home, proactive measures are being taken, and in this installment of our ongoing series on DIY electrical repair, Experts In Your Home is focusing on the crucial task of replacing a hard-wired smoke detector.
While battery-operated smoke detectors are better than none at all, hard-wired detectors offer several inherent advantages:
Interconnectivity allows multiple detectors to be linked so that if one triggers, they all sound. Battery backup ensures continued operation during power outages, providing an essential safety feature. Longevity ensures the alarm continues until manually deactivated, potentially saving your home in emergencies. Both types of smoke detectors should undergo monthly testing and be replaced approximately every eight years.
If it’s time to replace your smoke detectors, ensure you have enough to safeguard your home by installing them:
On the ceiling of each home level, including the basement and garage Within 10 feet of the master bedroom and in the hallway leading to other bedrooms Away from drafts like windows and vents that may affect operation To start replacing a smoke detector, turn off power at your home’s electrical panel and follow these steps:
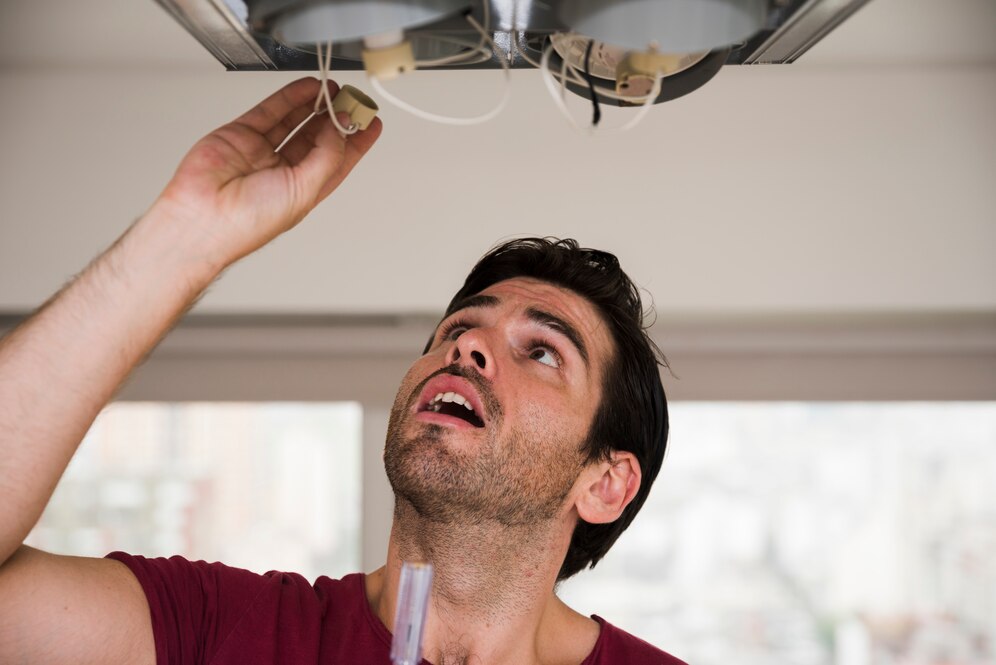
Remove the old smoke detector by unscrewing the mounting plate and following the arrows on the detector. Confirm power is off using a voltage tester. Note wire connections, ensuring similar colors are connected. If not, make a diagram for reference. The third wire, usually orange or red, is the “interconnect” wire. Mount the new detector and push the “test” button to ensure all alarms sound simultaneously. Occasionally, connecting a solid wire to a stranded wire may present challenges. In such cases, strip the insulation from the stranded wire, ensuring it is slightly longer than the solid wire. Twist the ends together and cap with a wire connector for a secure connection.
For any additional assistance or troubleshooting during your fire safety efforts or any other electrical repair needs, don’t hesitate to reach out to Experts In Your Home. Our Chico, CA electricians are here to assist you.